ROAST WITH CONFIDENCE

Because the flavor of the season should match the flavor of your moment.

Find Certified Angus Beef ® near you

Step 1: CHOOSING YOUR PRIME PERFORMER

Choose the Right Roast

Click below to discover the perfect roast to match your moment. Let the prompts guide you to find your ideal roast.

Your Roast, Your Way

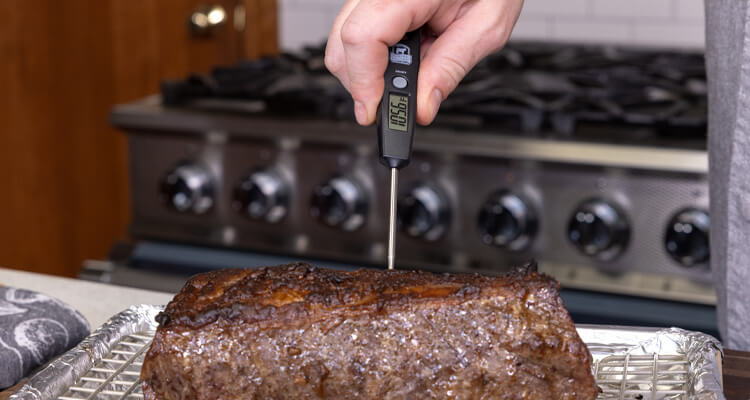
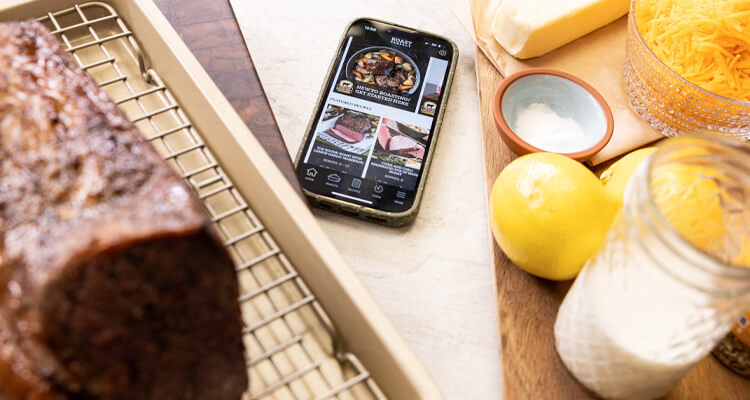
Already set on a specific roast? Our Roast Perfect app helps you choose the right size for your meal and cook it to perfection. It’s your trusty guide to mastering any roast you desire, from start to savory finish.

Roast of the Year: Strip Roast

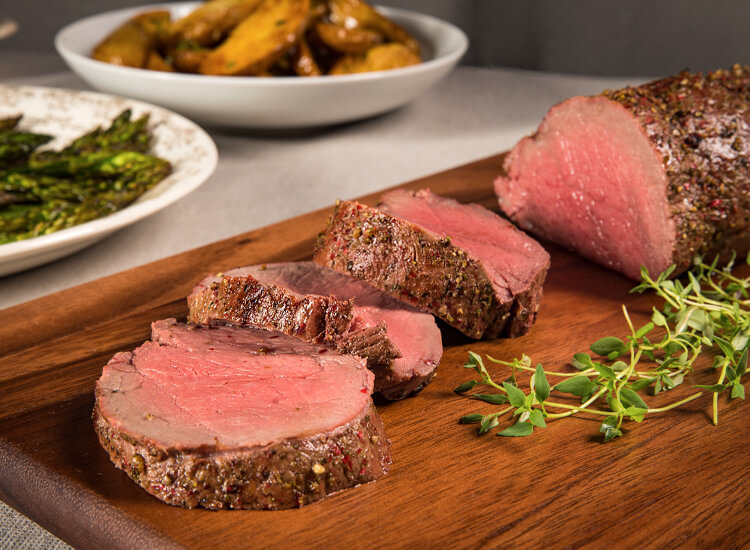
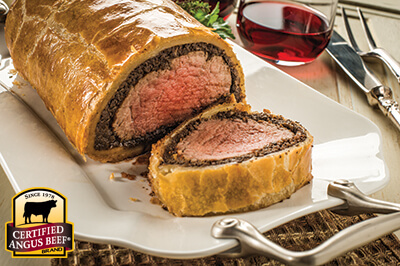
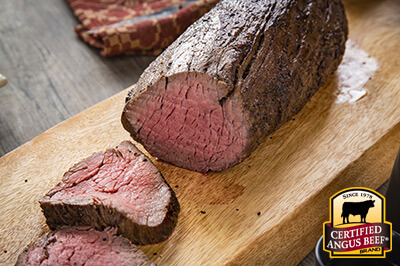
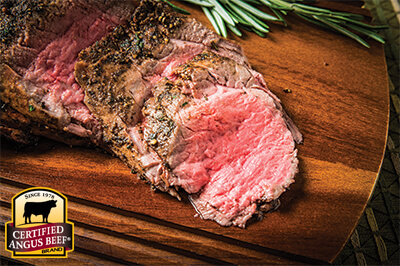
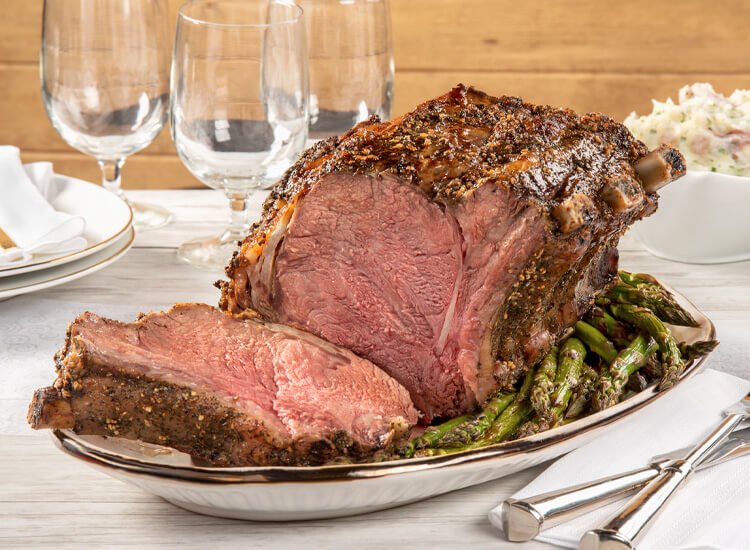
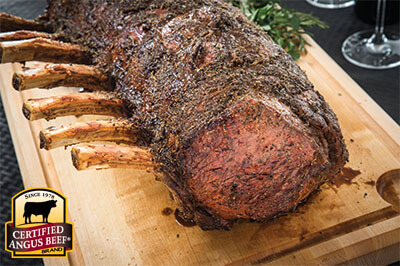
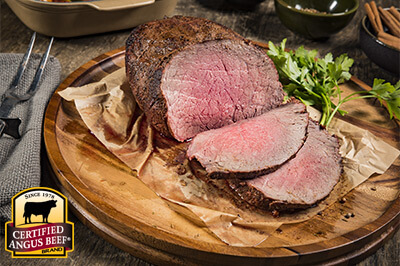
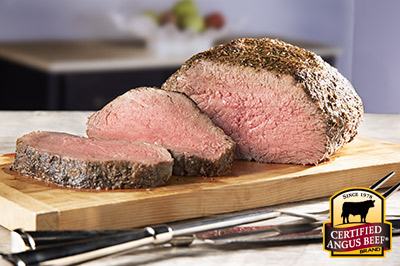
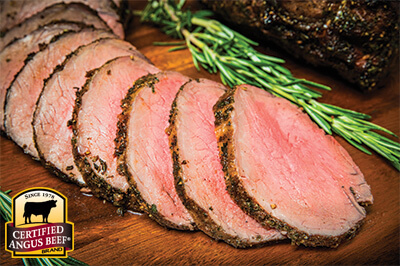
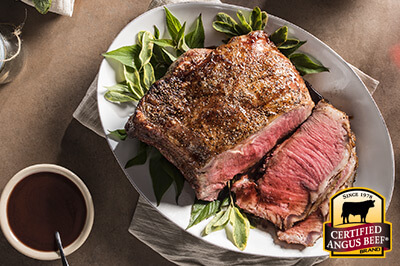
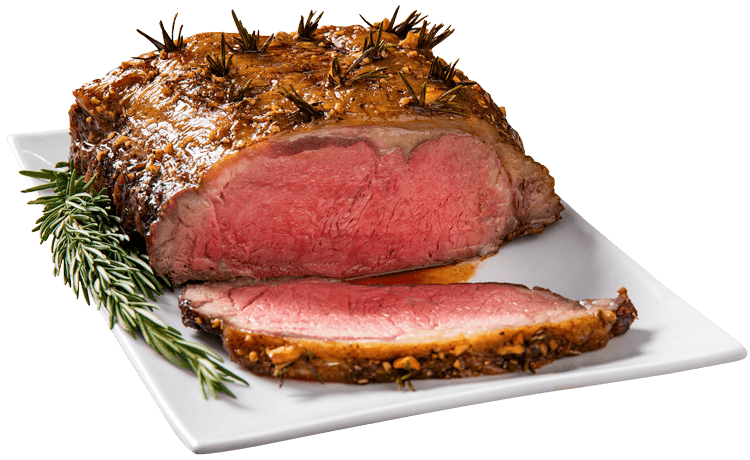
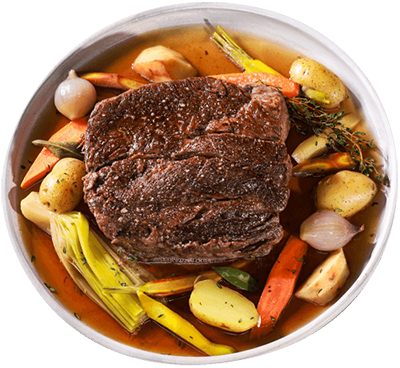
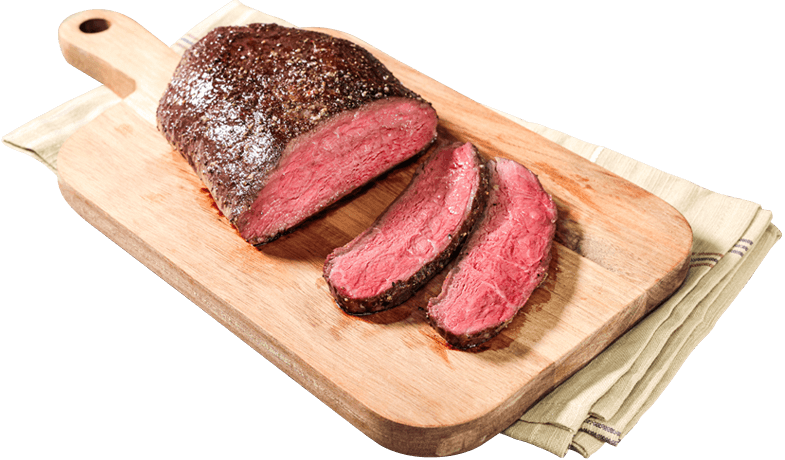
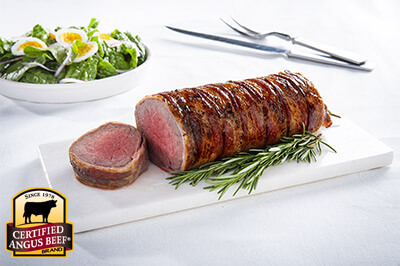
Impress everyone at your table with a Certified Angus Beef ® strip roast. This roast is the ultimate blend of lean perfection and incredible flavor. Carving is a breeze, making every slice a masterpiece.

Step 2: PREPPING A FLAVORFUL ROAST

Freeze Right - Seal Tight

Buying your roast ahead of time allows you to keep your roast at its prime until showtime.

Pro Tip: Your goal when freezing is to keep an airtight seal. Set your freezer below 0°F. The faster food freezes = smaller ice crystals. This means your beef will have better texture after thawing!

Gentle Thawing

Defrost your roast in the fridge, ensure a safe and even thaw. No need to bring beef to room temperature beef before cooking. For safety, roast from fridge to oven.

Pro Tip: Keep package on tray or plate to catch any leaks. It's best to thaw on low shelf in your fridge.

Oops! Forgot to thaw your roast?

No worries. Safely thaw in cold water with these USDA tips:

  1. Keep it sealed in its package or a leak-proof bag.
  2. Submerge in cold water, changing it every 30 minutes. A 3-to-4-pound roast might take 3 hours
  3. Cook right away after thawing

Step 3: SEASONING IS EVERYTHING

Elevate the flavor

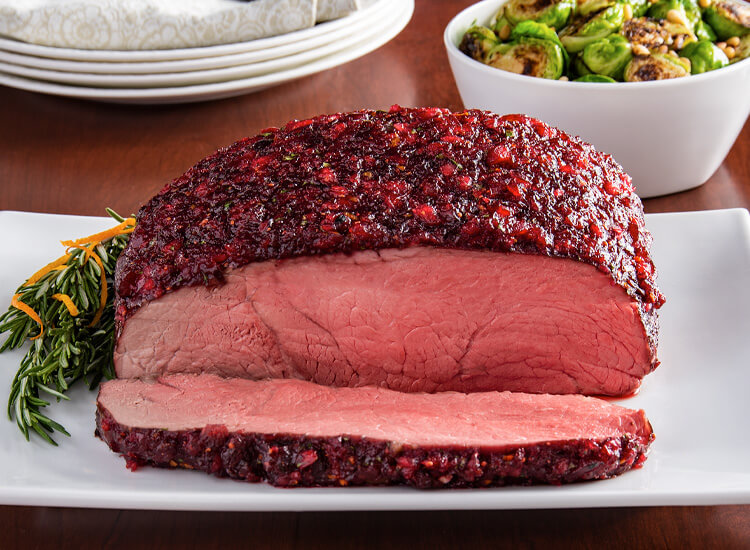
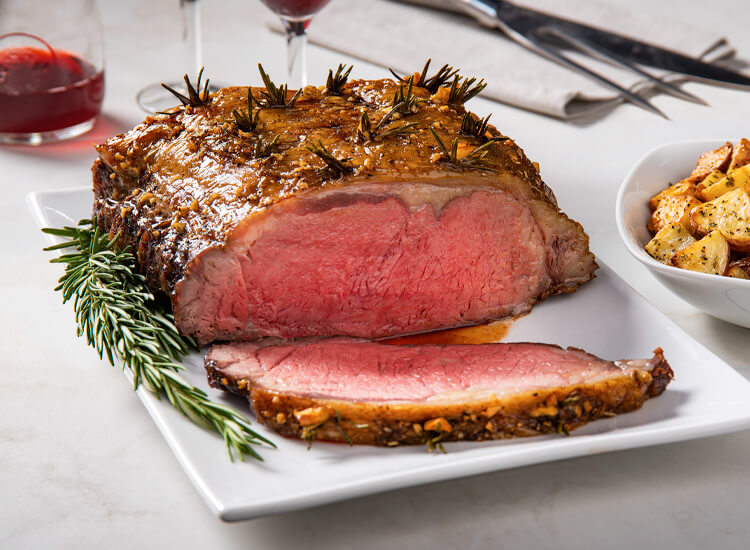
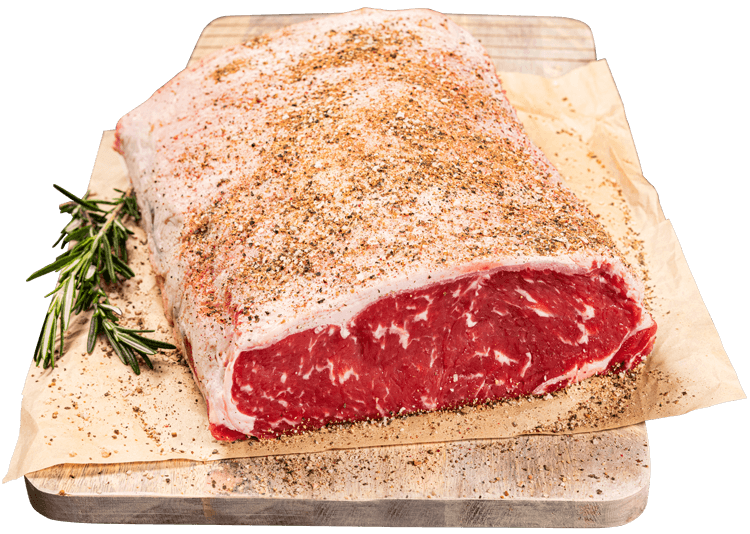
Add your favorite spices, and turn your roast into a savory sensation!

Get creative!

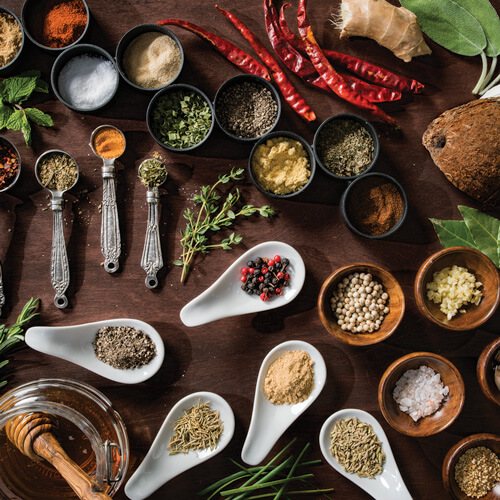
Show off a little by adding fresh or dried herbs to your seasoning with flavors like...

Aromatics: garlic, onion, shallots.

Herbs: thyme, rosemary, parsley, sage, oregano.

Sweetness: brown sugar, honey, maple syrup.

Heat: peppers, horseradish, ginger, mustard.

A Little Effort, Big Taste

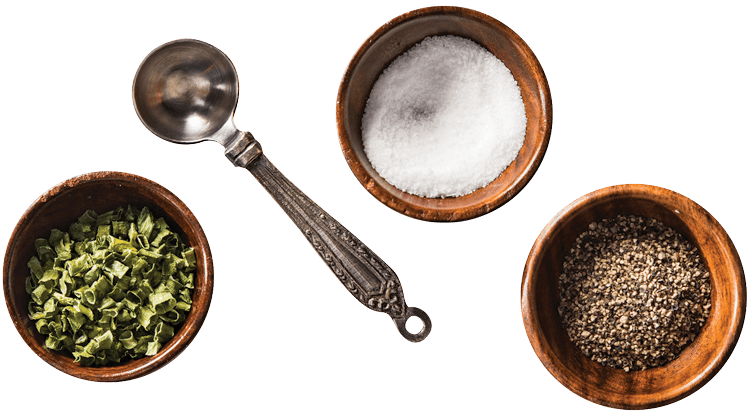
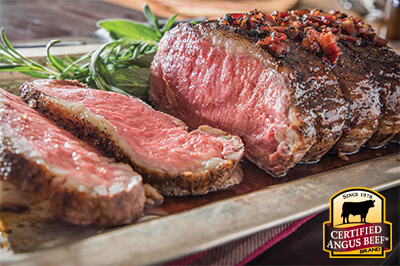
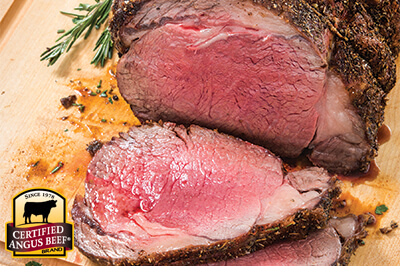
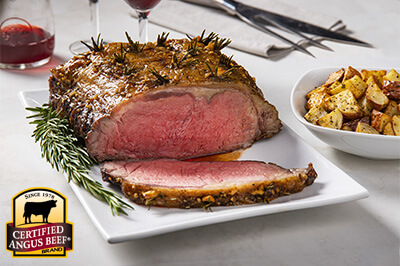
Sprinkle coarse kosher salt and cracked pepper generously to elevate natural flavor. The perfect ratio of salt to pepper is 2-to-1.

Step 4: SEAR AND ROAST

Sear to Lock in Flavor

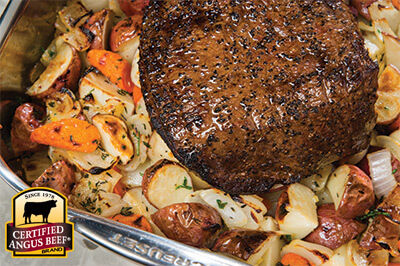
Searing is easy and seals in juices while creating a flavorful crust.

  1. Preheat oven to 450°F (use convection if available).
  2. Place seasoned roast on rack in roasting pan.
  3. Place roast in oven to sear for 15 minutes.

Roast to Your Desired Doneness

  1. Reduce heat to 325°F and leave it be.
  2. Roast until you reach your temperature target.
  3. Remove roast, tent loosely with foil and let it rest.
Pro Tip: Use a thermometer! Insert it into meat’s center (not touching bone or fat). Remove the roast when thermometer reads 5-10°F BELOW targeted temperature.

Degrees of Doneness

RARE
Cool red center
125° F52° C
MEDIUM RARE
Warm red center
135° F57° C
MEDIUM
Warm pink center
145° F63° C
MEDIUM WELL
Slightly pink center
150° F66° C
WELL DONE
Little or no pink
160° F71° C

Step 5: BRING IT TO THE TABLE

Rest for Success

Once cooked, let the roast rest. This helps juices settle for ultimate flavor.
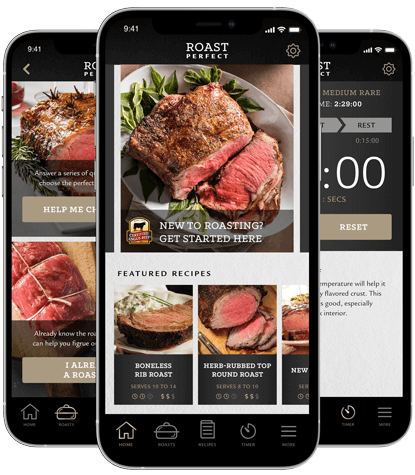
  • Under 4 lbs: 10 minutes
  • 4-10 lbs: 15 minutes
  • Over 10 lbs: 20 minutes
Pro Tip: You can tent with foil, but big roasts retain heat well.
Chuck Roast

Time to Carve

  • Snip tied twine, if used, before slicing. Bones will fall off, making carving easy.
  • Find the grain direction for natural texture.
  • Slice against the grain for tenderness and a better eating experience.
  • Use smooth, long strokes. Choose thin or thick slices. No short sawing.
Pro Tip: Finding the grain direction is simple! Look at the lines in the meat. Cut across those lines for the best tenderness.
Follow @CertAngusBeef